Machine Learning Attack Series: Smart brute forcing
This post is part of a series about machine learning and artificial intelligence. Click on the blog tag “huskyai” to see related posts. There are the two main sections of the series - more content will be added over time:
- Overview: How Husky AI was built, threat modeled and operationalized
- Attacks: The attacks I want to investigate, learn about, and try out
The previous post covered basic tests to trick the image recognition model. This included generating “bad” images with solid colors or entire random pixels.
The mitigations now in place are:
- Training the model with the “bad” images to make it more resilient.
- On the operational side, we added
rate limitingto the external facing API to make things a little bit more interesting/challenging for an attacker.
Let’s see what else we can try by being a little “smarter” with our testing efforts.
“Smarter” machine learning brute forcing
First, a couple calls to the Husky AI prediction API to see the current score for random images:
# create a random sample and run prediction against web endpoint
candidate_rand = np.random.random([NUM_PX, NUM_PX, 3])
print("Random Image: " + predict(candidate_rand)["score"])
For implementation details of the predict function refer to the previous post.
The results show the following score:
Random Image: 0.17533675
The mitigation put in place for the previous attacks work, as the prediction comes in at about 17.5% for some random pixels. However, that score seems still pretty high.
Note: The model in this post was trained and updated with two additional training epochs for identified adversarial images. This might not be enough! Let’s see…
Now it’s time look the attack techniques we will cover in this post:
- Ordinary brute force. The best guess after 10 times will be our
base_image - Pick random samples in medium range (90-145) to create a
delta_image. Adddelta_imagetobase_imageand runpredict. Substractdelta_imagefrombase_imageand runpredict. Alternatively, pick one or two shades in low (0-2), medium (126-127) and high (253-255) range and runpredictwith each of them. - Use
np.random.normal(normal distribution) to createdelta_image. Adddelta_imagetobase_image. This trick is from Michael Kissner’s Github repo that goes along with this great paper.
All three test cases only do 10 queries against the predict API. The goal is to issue few requests, because of the rate limiting.
However, even that still hit the API rate limit as we will soon see.
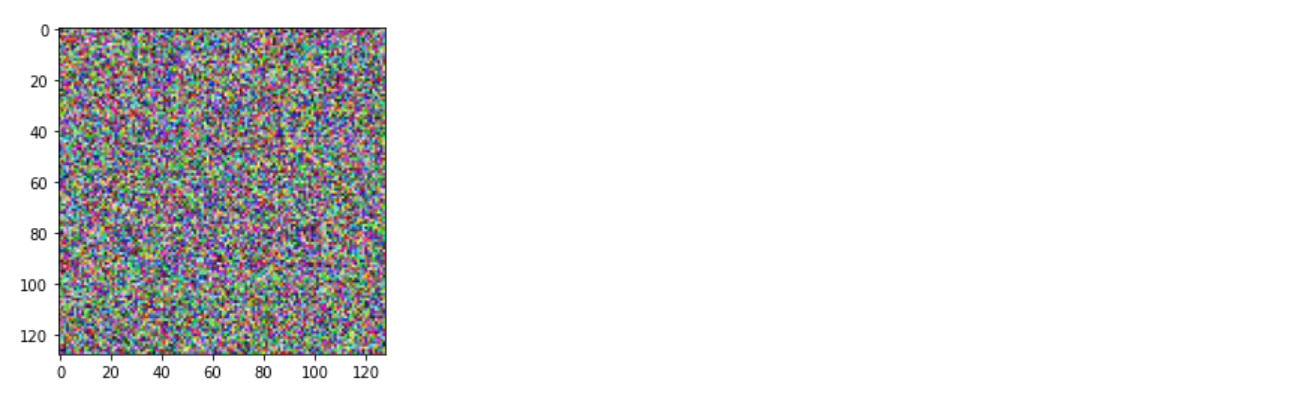
Test Case 1: Simple brute force to find a good “base” image
The first step is to run a brute force with random pixels and store the best result in best_bruteforce_image. Due to being throttled the attack starts with only 10 attempts.
Here are the main lines of code I used:
attempts = 10
current_best_score = 1e-100
best_bruteforce_image = 0

for i in range(attempts):

    ##create a random image
    candidate_image = np.random.random([NUM_PX, NUM_PX, 3])

    result = predict(candidate_image)
    score = float(result["score"])

    if score > 0.5:
        print(f"Found a random husky. Iteration: {str(i)} Score: {score}")
        current_best_score = score
        best_bruteforce_image = candidate_image

    if score > current_best_score:
        current_best_score = score
        best_bruteforce_image = candidate_image
        print("New best score: " + str(current_best_score))

plt.imshow(best_bruteforce_image)
The results are not looking too good yet for the attacker:
New best score: 0.11286646
New best score: 0.19212896
New best score: 0.23637468
Here is the best image so far:
Maybe running more iterations can increase the best_bruteforce_image score.
Rate limiting kicking in - very annoying
After calling the predict API again a few times rate limiting of the web server started kicking in.
503 Service Temporarily Unavailable
Eventually it happened very frequently. I added sleep commands to slow down the attack rate - quite annoying.
No chance to run 100000 tests in rapid succession anymore.
However, be aware that a motivated attacker might come from many different IP addresses, so throttling has its limitations (especially on an unauthenticated endpoint). It however does increase cost and complexity for an adversary.
More info on configuration settings in the appendix.
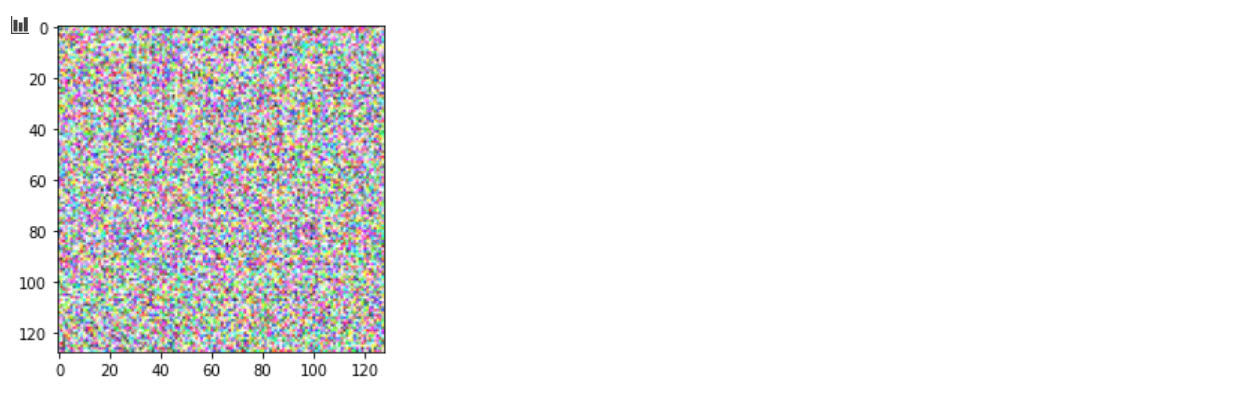
Test Case 2: Base image + close random “neighbor-colors”
This is the code for the second scenario:
import time

base_image = best_bruteforce_image

def probe_range(min, max, step):
    current_best_score = 1e-100
    best_candidate_image = 0

    for n in range(min, max, step):

        #try both adding and subtracting the range from the base image
        for i in range(2):

            # create a temp image
            temp_image = np.random.random([NUM_PX, NUM_PX, 3]) * n/255.
            if (i == 0):
                candidate_image = base_image + temp_image
            else:
                candidate_image = base_image - temp_image

            result = predict(candidate_image)
            score = float(result["score"])

            if score > current_best_score:
                current_best_score = score
                best_candidate_image = candidate_image
                print("New best score: " + str(current_best_score))

        time.sleep(10)

    return best_candidate_image, current_best_score

#take a bigger step (5), to limit number of queries overall
best_smart_bruteforce_image, best_score = probe_range(95,145, 5)
plt.imshow(best_smart_bruteforce_image)
Note the addition of the time.sleep(10) to slow down the probing rate.
In this run I got the following scores:
New best score: 0.40285298
New best score: 0.4952831
New best score: 0.4988353
These numbers look promising already. Just updating pixels and slightly playing with the color intensity of the base_image.
This is how the best scoring image looks:
At this point I was wondering if there even better was of doing this.
I found an excellent example in Michael Kissner’s “Hacking Neural Networks” work. He picks pixels via normal distribution for generating “noise” to fool image recognition when handling digits.
Let’s look at that.
Test Case 3: Base image + normal distributed “neighbor-colors”
The third attack was quickly implemented using the np.random.normal function.
It took some tweaking and it showed vastly different results depending on how the “base_image” looked like. I ended up with code that probes distributions around a mean from 0-255 in increments of 25. This is in order to stay below the rate limiting as much as possible, and not have to wait for too long to see results.
import time

base_image = best_bruteforce_image

def probe_norm_range(min, max, steps):
    current_best_score = 1e-100

    for d in range(min, max, steps):

        ##create a temporary delta image with normal distribution
        temp_image = np.random.normal(d, 1, [NUM_PX, NUM_PX, 3])
        candidate_image =  (base_image * 255. + temp_image) / 255.

        result = model.predict(candidate_image)
        score = result["score"]

        if score > 0.5:
            print(f"Found a random husky.  Score: {score}")
            plt.imshow(candidate_image[0])

        if score > current_best_score:
            current_best_score = score
            best_image = candidate_image
            print("New best score: " + str(current_best_score))

     time.sleep(10)

    return best_image, current_best_score

best_smarter_bruteforce_image, best_score = probe_norm_range(0,256,25)
print(best_score)
In case you wonder why there is always a division by 255, that is to have the pixels have values between 0-1. Mmachine learning prefers to work with numbers between 0 and 1.
The results of this technique are cool. They break the model again:
New best score: 0.23516122
New best score: 0.35612822
Found a random husky. Score: 0.6366884
New best score: 0.6366884
Found a random husky. Score: 0.80138826
New best score: 0.80138826
Found a random husky. Score: 0.80683583
New best score: 0.80683583
Found a random husky. Score: 0.736615
Found a random husky. Score: 0.557814
Fascinating that with such a small number of calls to the API we can bypass the model again. This means that again more training on bad images is necessary to mitigate attacks.
For fun, this is the highest scoring “husky” image:
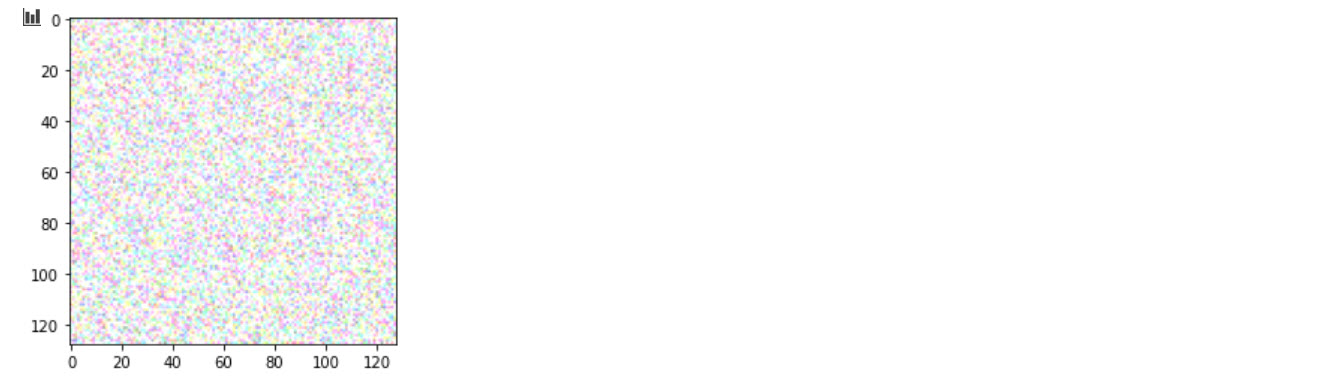
That does not look like a husky to me.
Results overview
Finally, let us look at the results of the three test cases:
print(predict(best_bruteforce_image))
print(predict(best_smart_bruteforce_image))
print(predict(best_smarter_bruteforce_image))
And here are resulting numbers for reference:
0.23637468
0.4988353
0.80683583
So what about mitigations now?
Mitigations
The mitigation is to continue training the model with such bad test images and tell the neural network that these are definitely not huskies! The same as we did in the previous post basically. This means doing something like this:
print("Fitting model...")
model.fit(np.array(bad_images),np.array(not_husky_labels), epochs=5, verbose=0)
After fitting the model with three images and running for 5 epochs, the results of the attack sequence changed to:
0.00088388
0.00071904
0.00097576
Nice. Looks like its rather difficult to guess a husky image with these brute forcing attempts out of thin air - even when applying some smarter techniques.
What’s next?
The next challenge is to pick a non-husky image and modify it so that it will be seen as a husky image by the model.
I’m not yet sure if this will be easily possible through the rate limited prediction API - as we don’t have access to the model directly yet. So this should be interesting.
There is a famous image with a panda bear + a noise image that I have seen as an example for this sort of attack. I’m excited to learn more about this next. My goals is to spend time experimenting and trying things out myself to learn and understand attacks better, but then also read up official papers around adversarial examples.
I hope you enjoyed reading and learning about this as much as I do. I learned a lot already and am eager to dive learning smarter ways of coming up with malicious/adversarial examples.
Appendix
Attack Overview
These are the core ML threats for Husky AI that were identified in the threat modeling session so far and that I want to research and build attacks for.
Links will be added when posts are completed over the next serveral weeks/months. The more I learn, the more attack ideas come to mind also, so there will likely be more posts eventually.
- Attacker brute forces images to find incorrect predictions/labels - Bruteforce Attack
- Attacker applies smart ML fuzzing to find incorrect predictions - Fuzzing Attack(this post)
- Attacker performs perturbations to misclassify existing images - Perturbation Attack
- Attacker gains read access to the model - Exfiltration Attack
- Attacker modifies persisted model file - Backdooring Attack
- Attacker denies modifying the model file - Repudiation Attack
- Attacker poisons the supply chain of third-party libraries
- Attacker tampers with images on disk to impact training performance
- Attacker modifies Jupyter Notebook file to insert a backdoor (key logger or data stealer)
- Attacker uses Generative Adversarial Networks to create fake husky images
Rate limiting configuration with nginx
See more information on the nginx documentation for rate limiting.
Below are some of the settings I experimented with at the API gateway level:
limit_req_zone $binary_remote_addr zone=one:10m rate=5r/m;
limit_conn_zone $binary_remote_addr zone=addr:10m;
limit_req zone=one burst=10 nodelay;
limit_conn addr 5;
client_max_body_size 10M;
References
Hacking Neural Networks: A short introduction - Michael Kissner
Mascot :)