The machine learning pipeline and attacks
This post is part of a series about machine learning and artificial intelligence.
In the previous post I talked about good resources for learning more about artificial intelligence and machine learning in general, and how I started my journey in this space.
The next few posts will be about Husky AI.
What is Husky AI?
Husky AI allows a user to upload an image, and get an answer back if the image contains a husky or not. Below is a screenshot of the application:
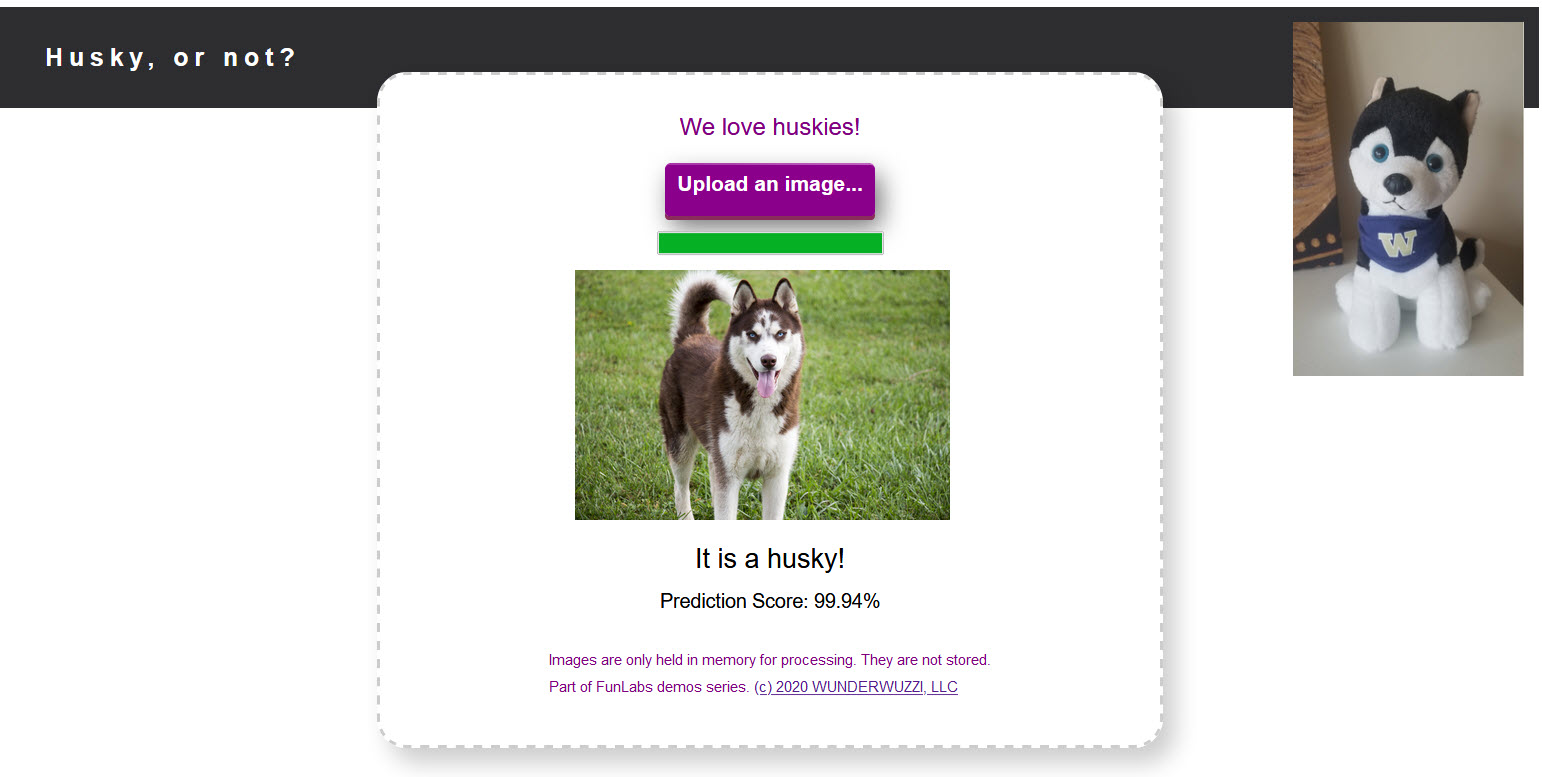
If you watched the show “Silicon Valley”, you might find this quite funny.
What will be covered?
In the next few posts I will describe how I built and operationalized “Husky AI”, which is a playground application I use to learn about machine learning and perform attacks.
- Machine Learning Pipeline - High Level overview of the bits and pieces (this post)
- Building a machine learning model - The steps involved in building Husky AI model and training it
- Operationalizing the model - how did I make the model invokable from a web site
- Threat modeling the system - Identifying threats and attacks, with a focus on the AI/ML threats
Let’s get started with an overview of the machine learning pipeline. This will already highlight many of the moving pieces that can be attacked!
Part 1 - The Machine learning pipeline
I assume that the reader is familiar with security and pen testing, but less so with machine learning.
The following image shows the main components of the machine learning pipeline:
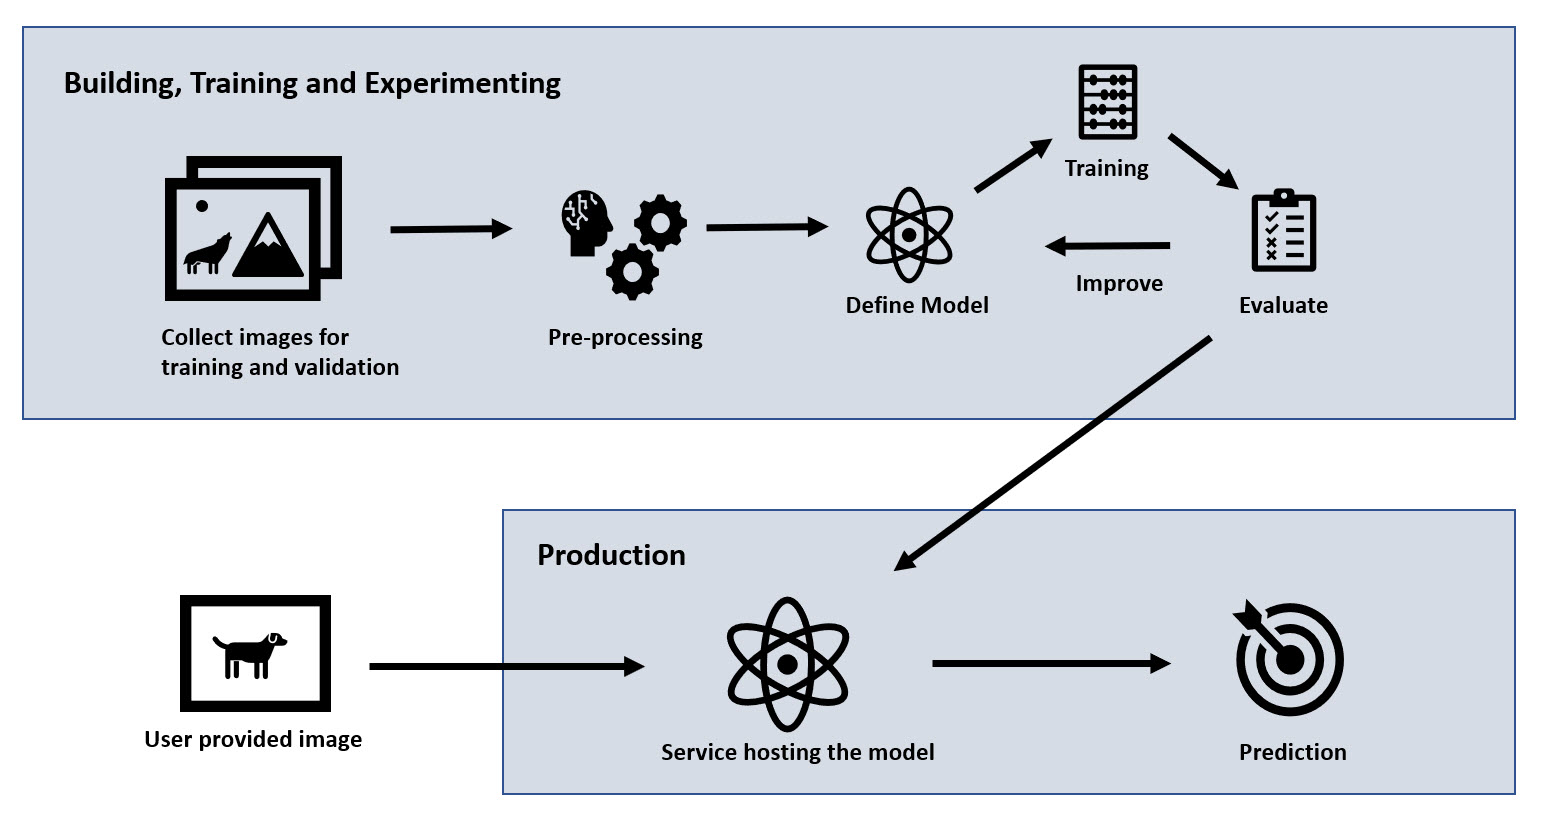
This overview of the machine learning pipeline will eventually help us build a data flow diagram (DFD) that we use to identify threats and attacks later on.
Let’s briefly describe the main parts of the ML pipeline of the “Husky AI” service:
- Collecting training and validation images: The process starts with gathering images. These are pictures of huskies and random other pictures.
- Pre-Processing: The images go through some pre-processing steps (this includes data cleansing, rescaling, labeling, storing,..)
- Defining the initial model: We have to start somewhere, my very first test was a network with a single neuron (basically just logistic regression). At this point it is also important to set a measurable metric that can be used to compare training runs with each other. This is to be able to meaningfully improve the model
- Training the model
- Evaluation: After a training (even during) measure performance of the model (e.g. accuracy)
- Improve the model: If performance is not met, update the model (e.g. trying different algorithms, learning rates, neural network layouts,…) and start training again
- Deployment: If the performance of the model looks good, deploy to production
- Operationalization: Make the model available for usage via an HTTP API. In my production deployment there is an API gateway which routes traffic to the Husky AI web server. The API endpoint then calls into the model give predictions for uploaded images
- End user runs predictions: A user can invoke the public API to upload an image and get a prediction
- (Online Feedback Loop): Not visible in the image, because Husky AI does not do that. Production systems typically collect user data and feed it back into the pipeline (Step 1) - this turns the pipeline into an “AI lifecycle”.
That’s it. Those are the core pieces of a machine learning pipeline.
In next post we cover the technical details on how the Husky AI machine learning model was built and trained.
Twitter: @wunderwuzzi23