Machine Learning Attack Series: Adversarial Robustness Toolbox Basics
This post is part of a series about machine learning and artificial intelligence. Click on the blog tag “huskyai” to see related posts.
- Overview: How Husky AI was built, threat modeled and operationalized
- Attacks: Some of the attacks I want to investigate, learn about, and try out
I wanted to explore the “Adversarial Robustness Toolbox” (ART) for a while to understand how it can be used to create adversarial examples for Husky AI.
A few weeks ago I described a range of perturbation attacks to modify an existing image of the plush bunny to get it misclassified as a husky.
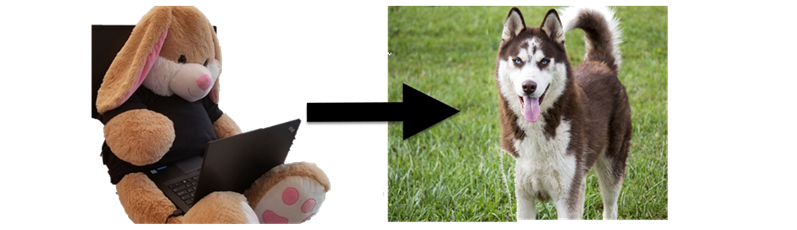
The goal of this post is to do the same, but leveraging ART.
Adversarial Robustness Toolbox (ART)
ART was originially created by IBM and moved to the Linux AI Foundations in July 2020. It comes with a range of attack modules, as well as mitigation techniques and supports a wide range of machine learning frameworks.
The code of creating an adversarial examples is straight forward. There is good documentation available also.
Basic Attack - Fast Gradient Sign Method
My initial goal was to just get a basic adversarial example using FGSM. To get started with Keras and ART first import a couple of modules.
from art.attacks.evasion import FastGradientMethod
from art.estimators.classification import KerasClassifier
Interestingly, I had to disable eager execution in TensorFlow:
tf.compat.v1.disable_eager_execution()
Then load the model file:
model = keras.models.load_model("/content/huskymodel.h5")
And create an ART KerasClassifier for the attack:
classifier = KerasClassifier(model=model, clip_values=(0, 1), use_logits=False)
After that we have everything ready to perform an attack and create the adversarial example. Let’s first load the image and print it’s current prediction:
image = load_image("/tmp/shadowbunny.png")
predictions = classifier.predict(image)
print(predictions)
The result was [[0.00195146]].
Now let’s write ART code to perturbe the pixels using the FGSM attack:
image = load_image("/tmp/shadowbunny.png")

attacker = FastGradientMethod(estimator=classifier, eps=0.04, targeted=True)
x_attack = attacker.generate(x=image, y=[0.9])
predictions = classifier.predict(x=x_attack)

print(predictions)
plt.imshow(x_test_adv[0])
Here is a quick description of the steps in the above code:
- First we load the benign plush bunny image that we want misclassify
- Then we create the FGSM attack instance. Note the API is called with
targeted=True, which means we want the output to fall into a certain class/label. Husky AI uses a binary classifier and this was the way I got it to work. - Next we perform the attack and generate an image with perturbed pixels. Because
targeted=Truewas specified we have to provide a labelyvalue. Although in this case (binary classifier) I have not fully grasped what theyvalue is actually doing. The outcome is correct regardless of the actual value ofy. - Finally we call
predicton the newly created attack imagex_attackand display it as well.
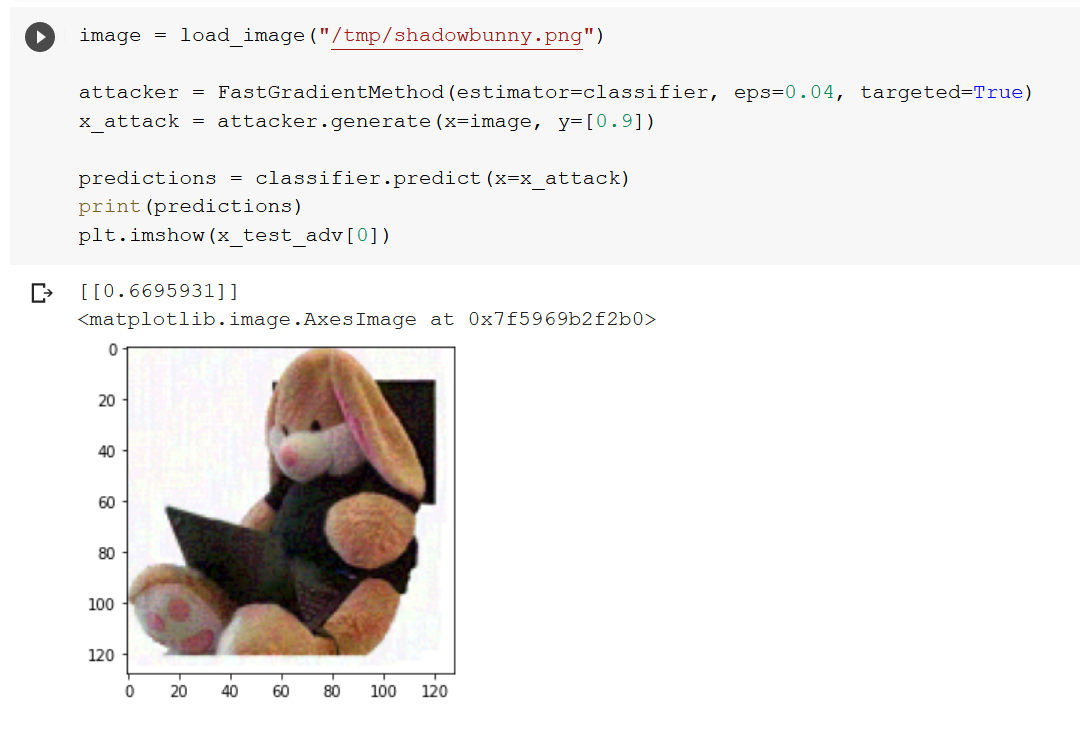
Notice how the prediction score is now at 66%. The attack worked!
In this case its also visible that the image slightly changed – observe how the white background is not entirely plain white anymore.
Conclusion
Hope this quick introduction helps you get started with ART. I will be exploring a lot more going forward. Compared to the manual attacks and code I had to write in the previous posts about perturbations, the ART libraries makes these attacks much simpler to perform.
Twitter: @wunderwuzzi23